
Power Apps is a Microsoft web tool that provides a rapid development environment to build custom apps for business needs. These apps can utilize PowerBI data analytics to fetch lavish data from the insights provided. Then, this data is required to help grow the organization by providing analytics and bi-consulting solutions to various organizations. These business apps connect to the data stored in online and cloud-based data platforms.
PowerApps allow the users the flexibility to design these real functional business apps on any device like tablets, phones, or pc. (To learn more Power Apps portal, check out https://learn.microsoft.com/en-us/power-apps/maker/portals/overview ). One can create Model-Driven, Canvas apps, and Portals that are structured as well as responsive.
These forms or message dialog boxes are of great significance as they signal a warning to the user before they perform their action. It alarms the user whether they want to pursue further as any loss of data unintentionally can cause significant damage to their organization. PowerApp pop-up forms also provide a customized experience to their users. They function as a UI interface for the users such that they don't mess up the edits in the database or on any other platform.
In this blog, the creation and working of Canvas Apps popup forms in PowerApps have been intensively discussed below.
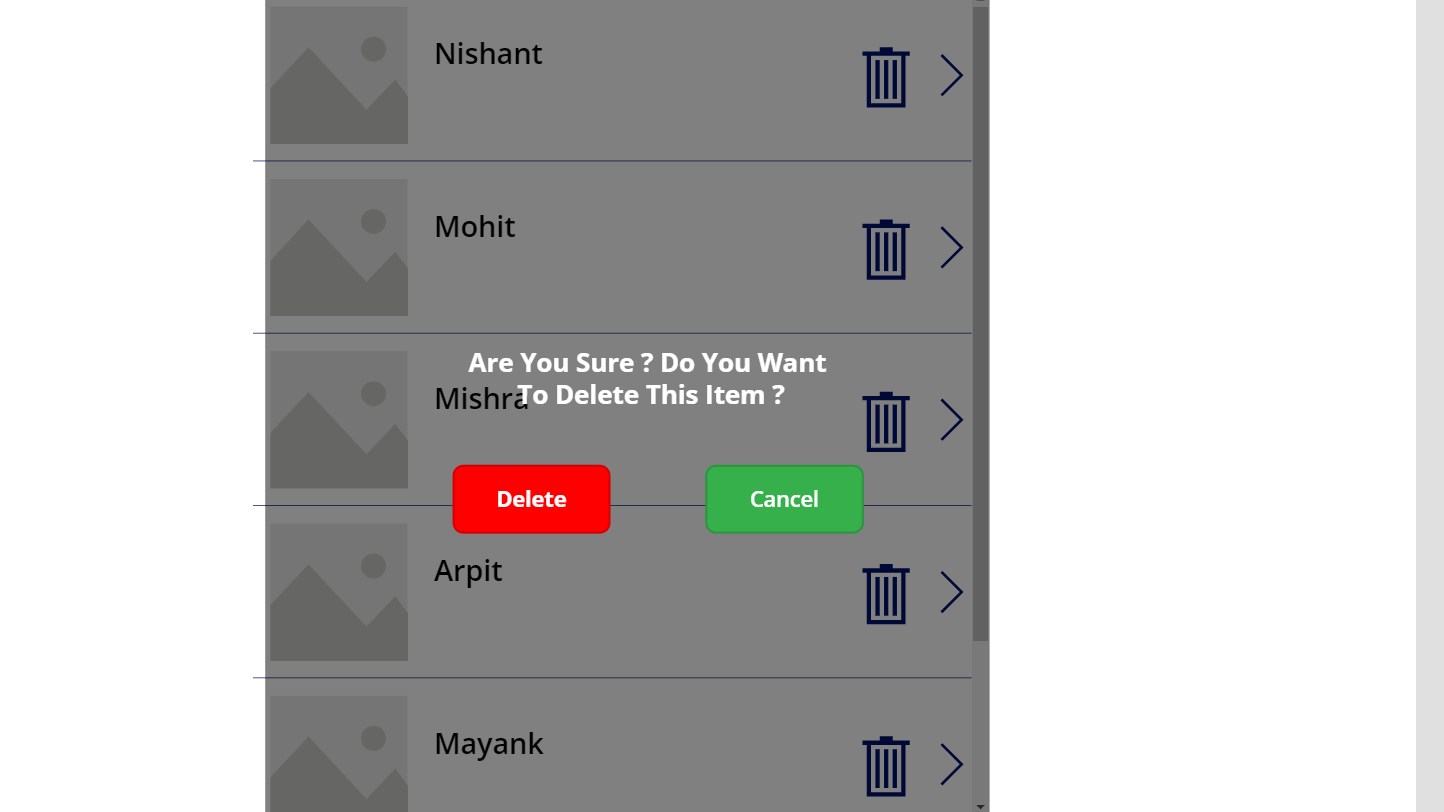
Here, steps illustrate an example of how a pop-up message emerges on a command performed to delete an item by clicking the delete button on the screen. The delete button has been chosen as the example here as it is easy to demonstrate the procedure on a delete button.
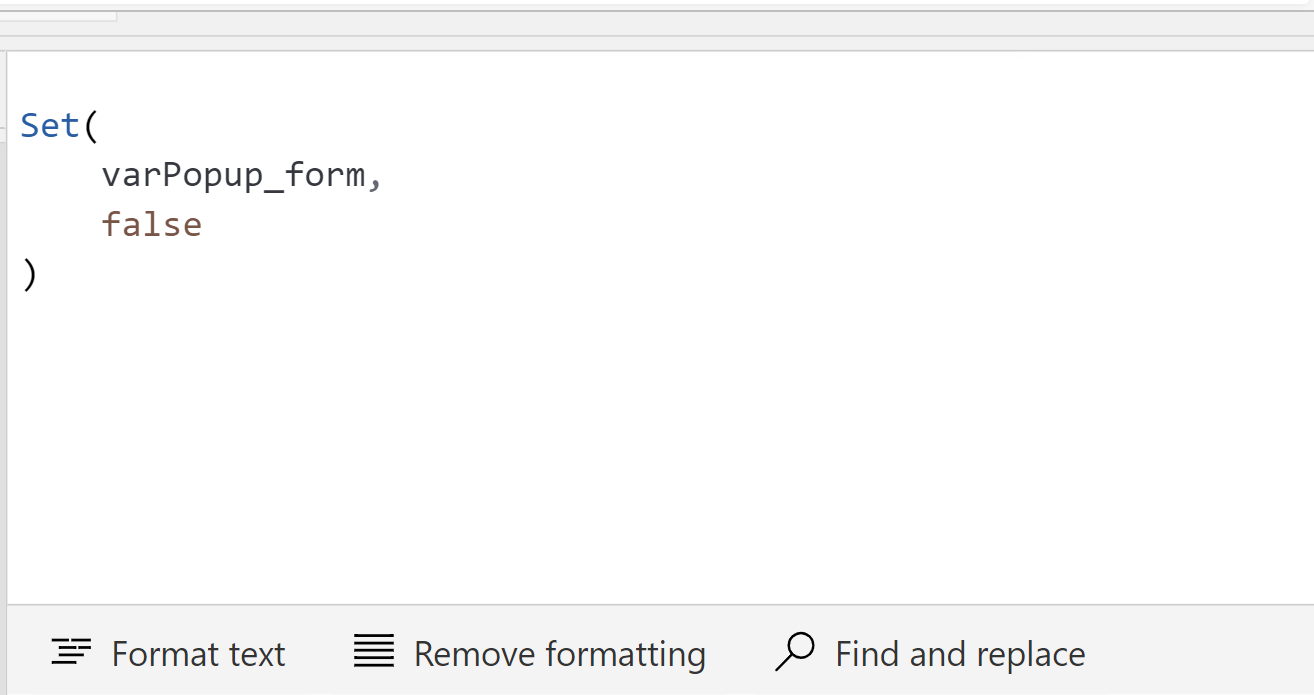
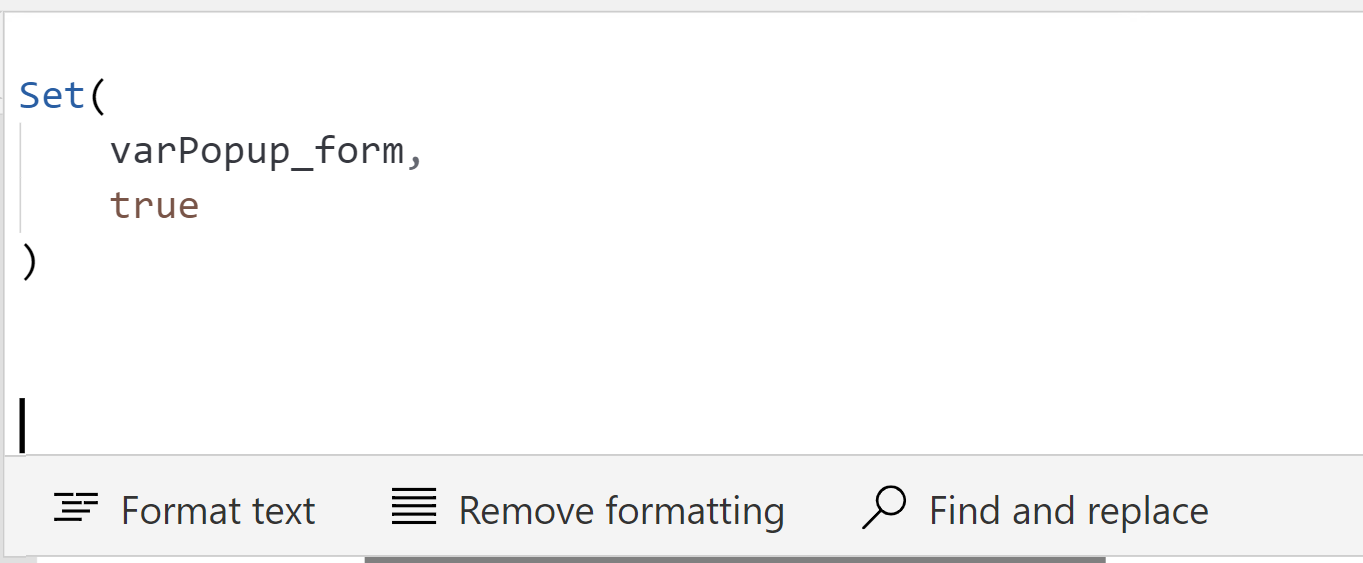
Create a variable with any suitable name. Here, the example chosen is varPopup_form for the demonstration. On the formula bar, set this variable on the delete button when an “On Select” is performed. Write the following code as shown below:-
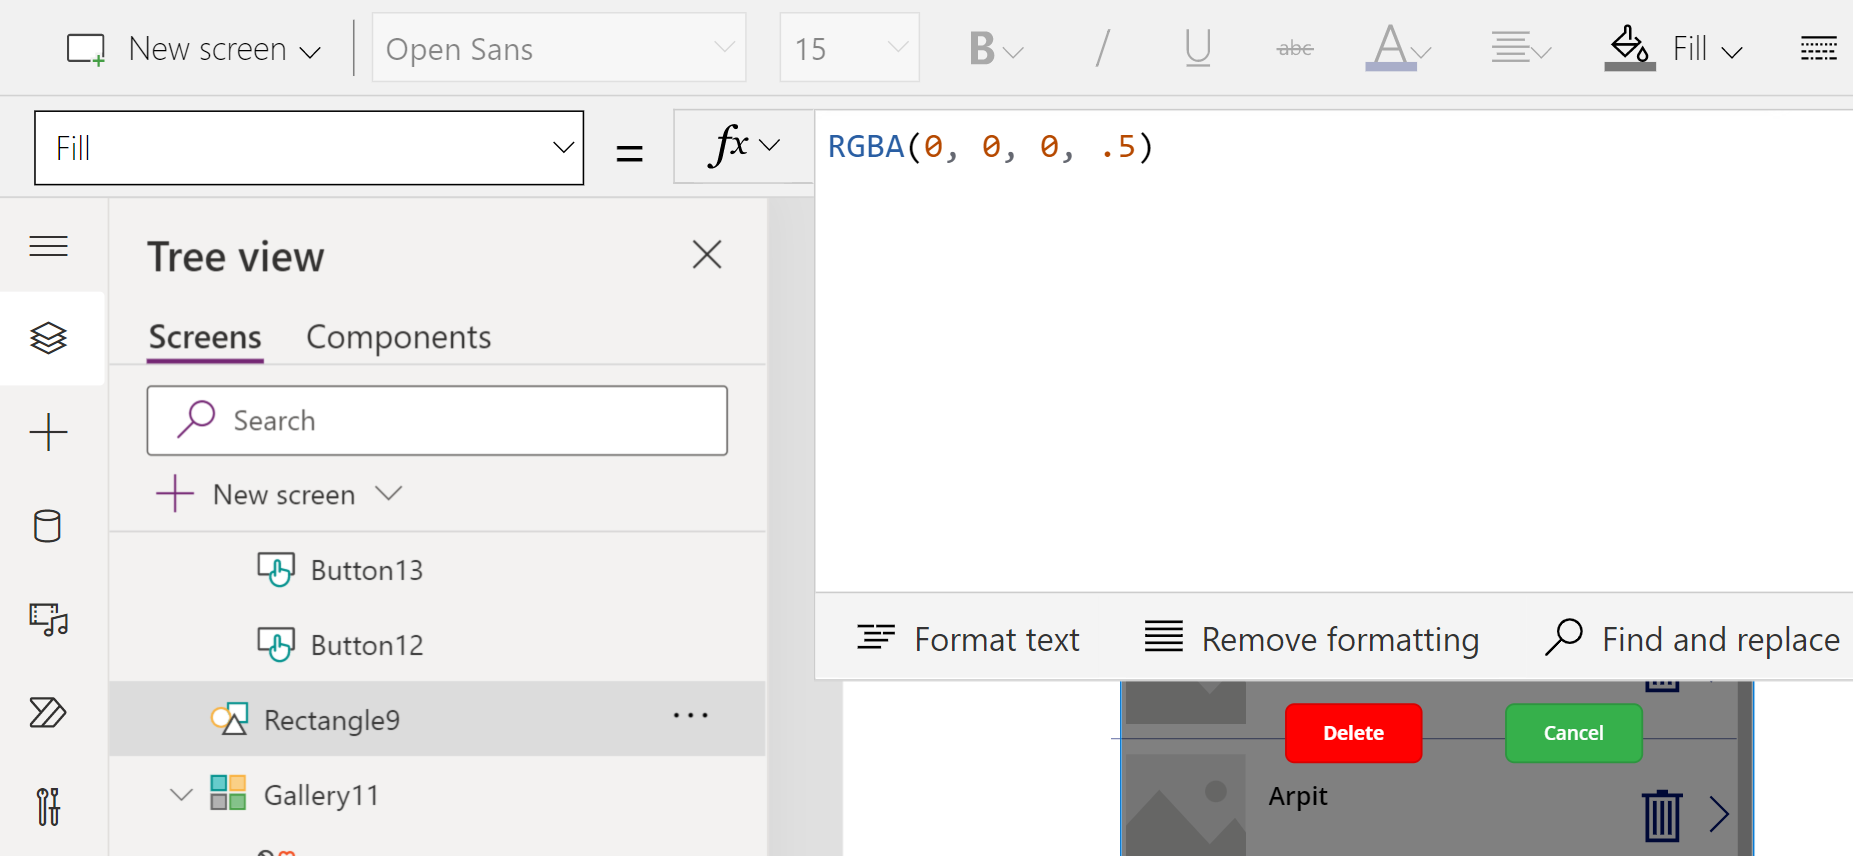
Add a rectangle to cover the whole screen. Since the pop-up message box will appear on this rectangle area, therefore, the rectangle screen needs to be less opaque and a bit faded. Thus, decrease the opacity to 0.5 to make the screen transparent.
Subsequently, add another small rectangle screen which will be the popup form/message box or button screen. Color this screen white to highlight it over the larger rectangle created in the above step, and add labels for the message to be conveyed, heading on this box, close and save button. Now, make a group of these elements used.
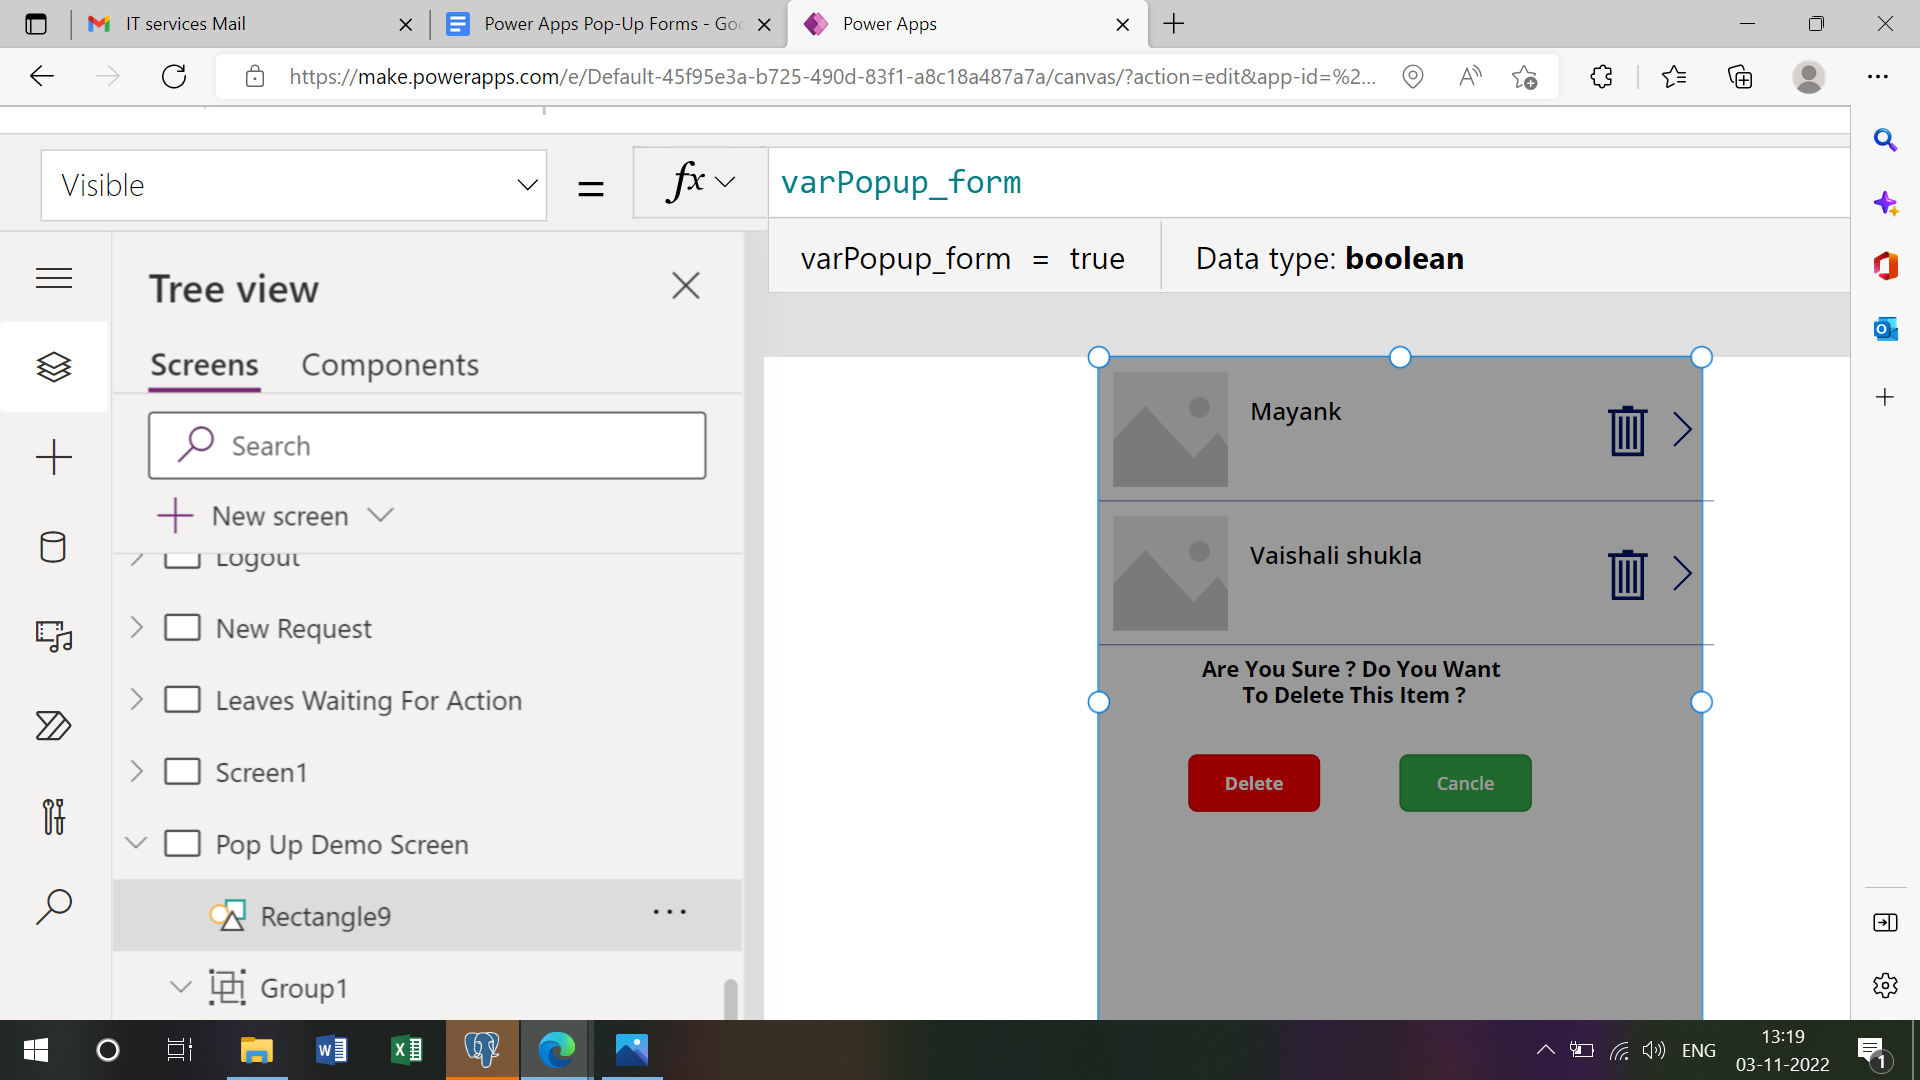
Before hiding the pop-up message, select the visibility property setting of the group to the visible mode to varPopup_form which is the variable created in the first step. Now, to hide the popup set the variable to false on Confirm or Cancel button of the pop-up.
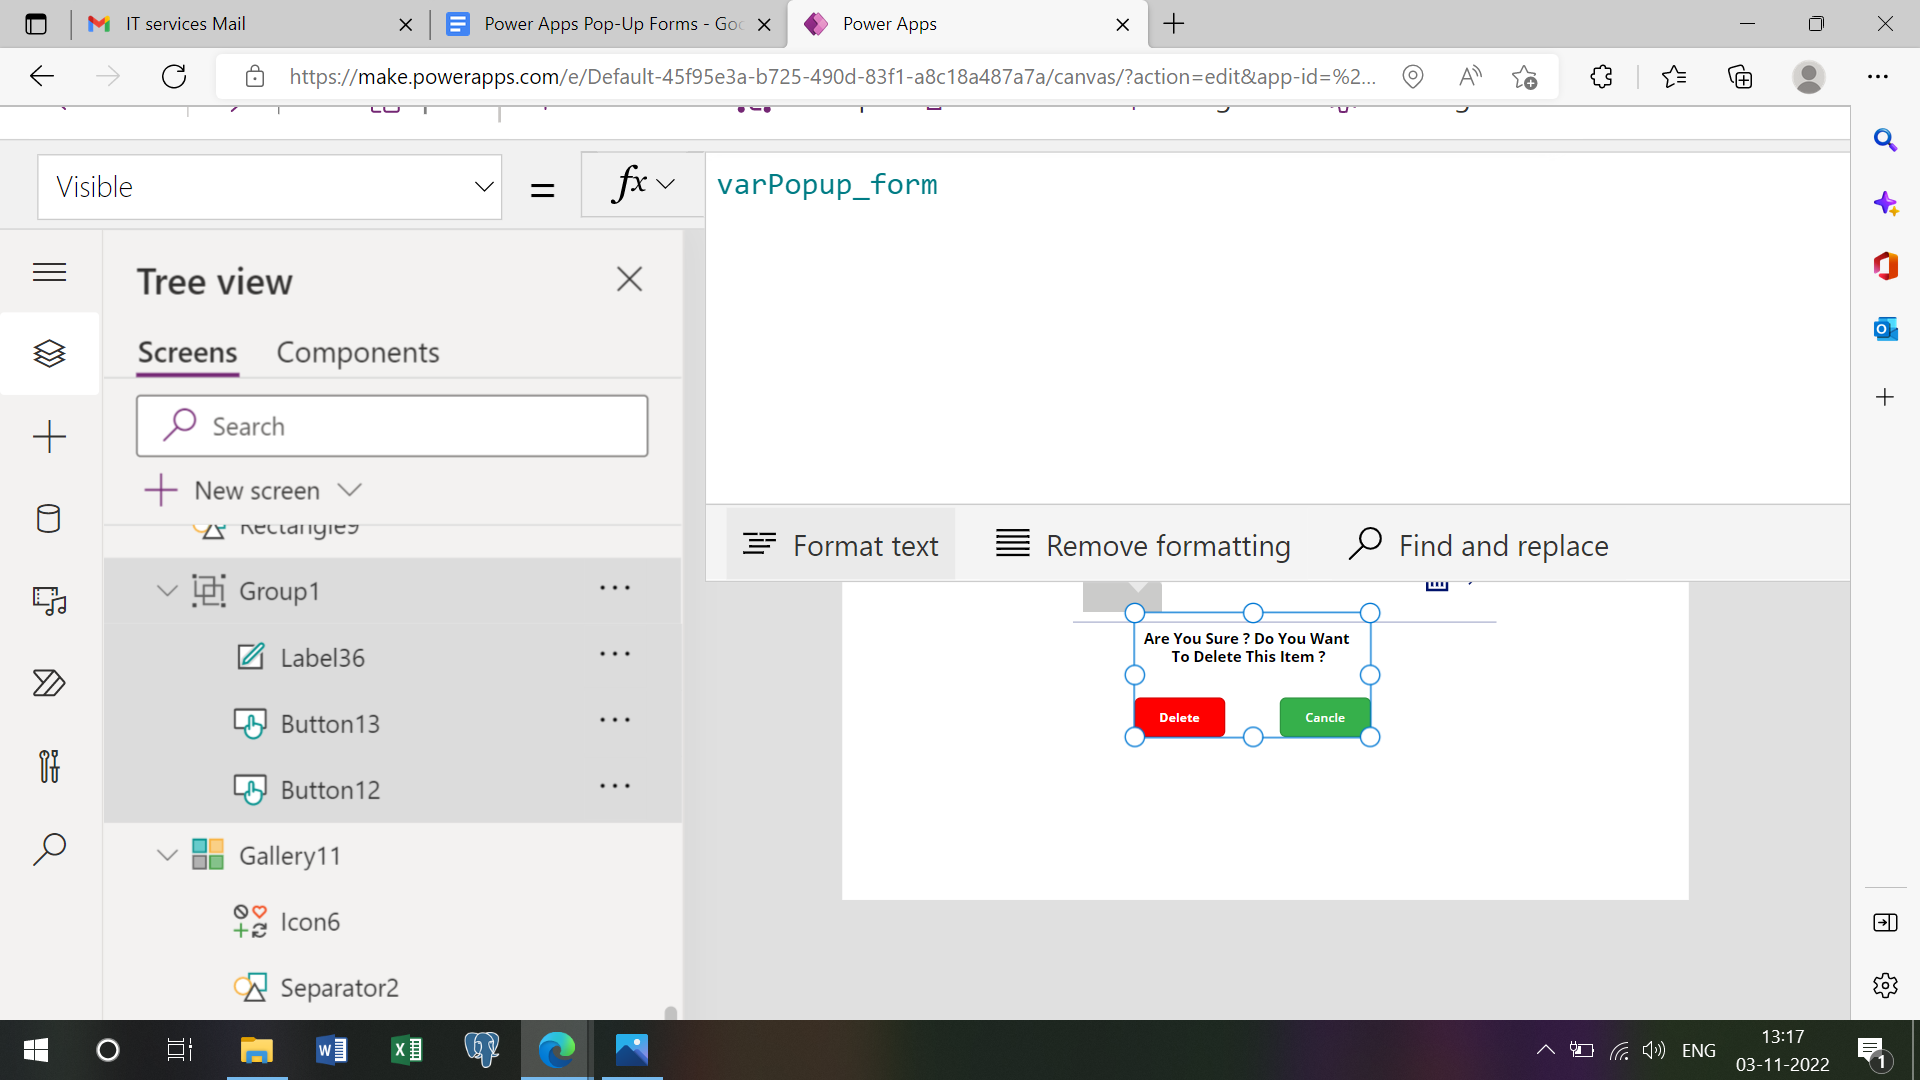
The button will be displayed only when the variable is true. Write the following code as shown below:-

The final step is to write the code on the formula bar that needs to be performed on the click action on the delete button. This procedure can be applied to any field or record to illustrate the example. Refer to the following formula to be performed on a delete button as shown below:-

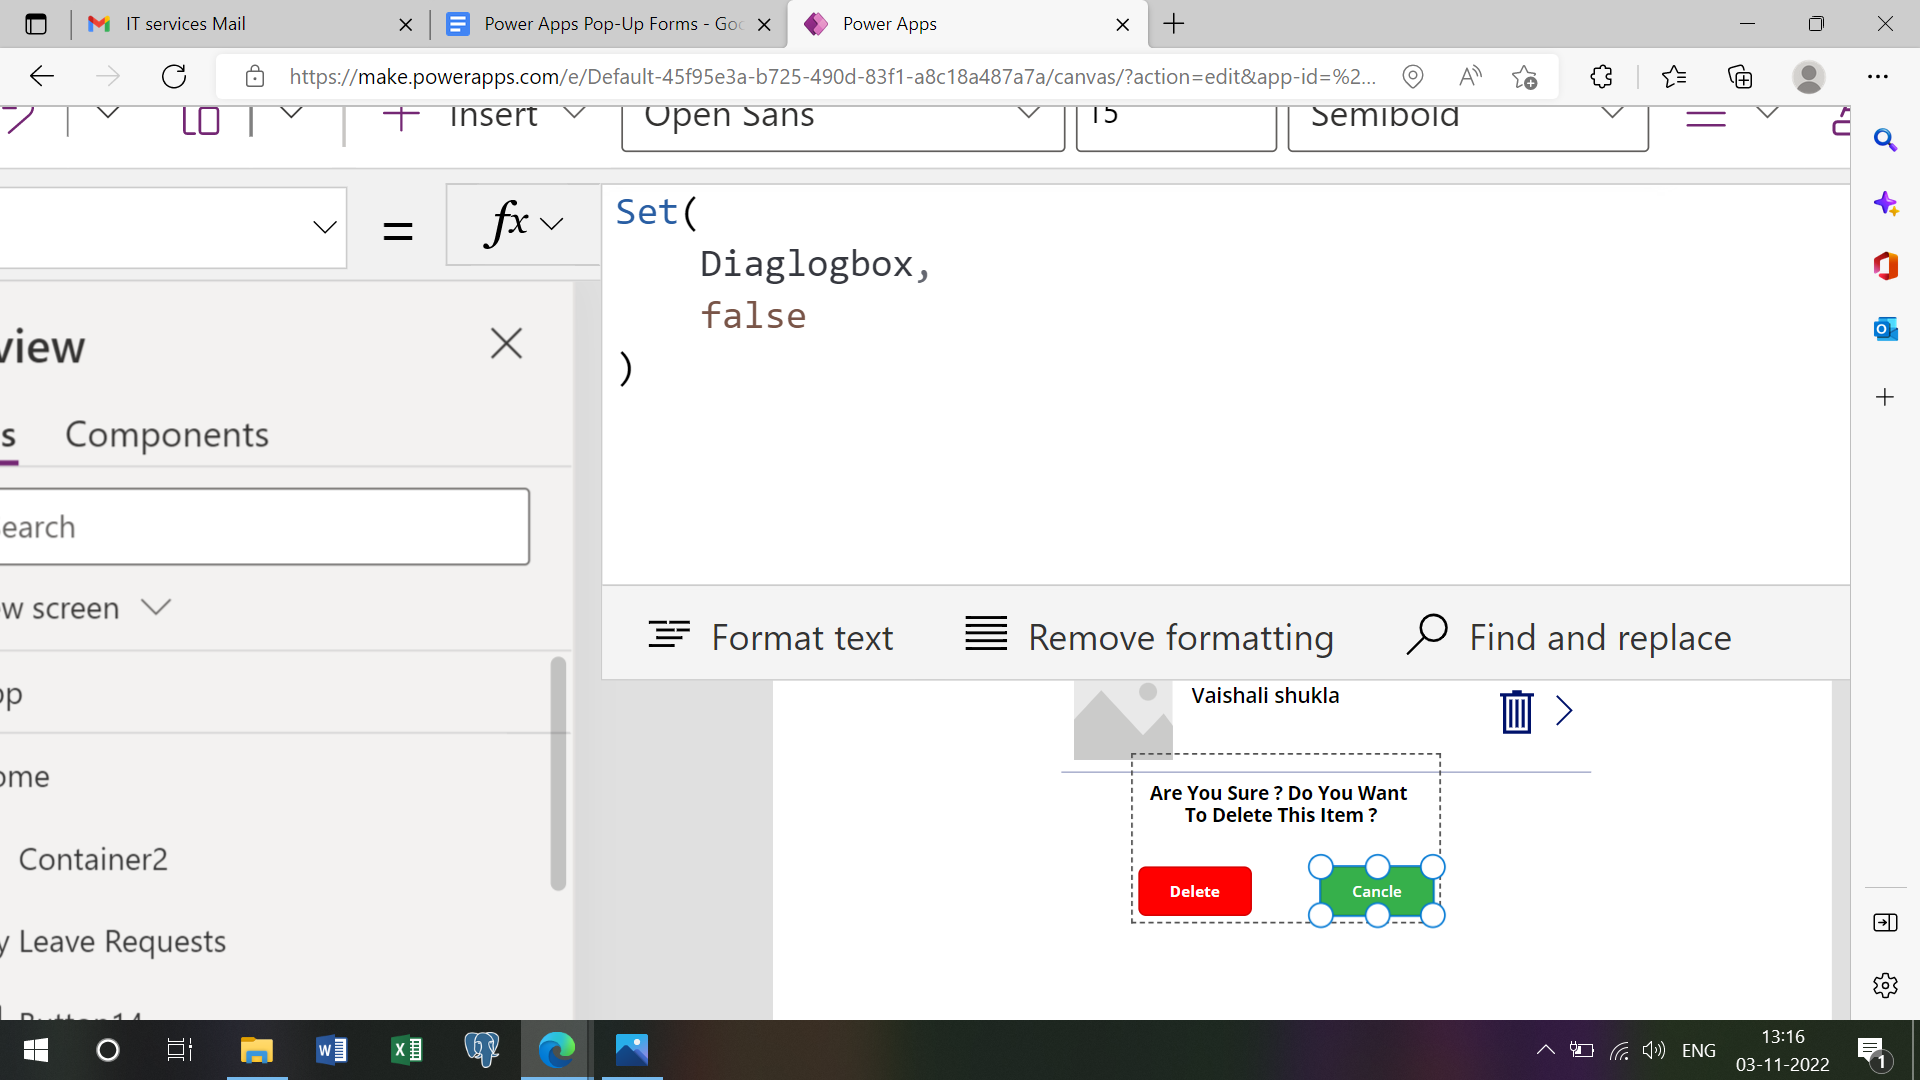
Refer to the following formula to be performed on a cancel button as shown below:
This article discusses the detailed and precise method for creating a pop-up form in Canvas App in PowerApps. Kindly ask questions if you face any trouble anywhere. Also, leave comments in the comment section given below. I hope you enjoyed reading it thoroughly.
Learn more about Microsoft Power BI consulting services and Business Intelligence solutions offered by Kockpit Analytics. Pvt. Ltd.
Discover the most interesting topic