
We will see here how we can do that by example.
Quick view controls are associated with a lookup field which requires a relationship between tables. If the lookup field value is not set, the quick view control will not be visible. The fields shown in quick view controls are read-only and cannot be edited.
We can add quick view forms to another table's forms as quick view control. The quick view control provides the capability to view information about a related record. Adding a quick view form means that users do not need to worry about viewing related table information in a single form.
Suppose we have two tables
If we want to add the columns of the “Business Requirement Table” to the “Mediocre Table,” we cannot do that directly into the form as we can do in the Lists. So we can do that in the forms with the help of Quick view forms. We will see by the example screenshots which are given below:-

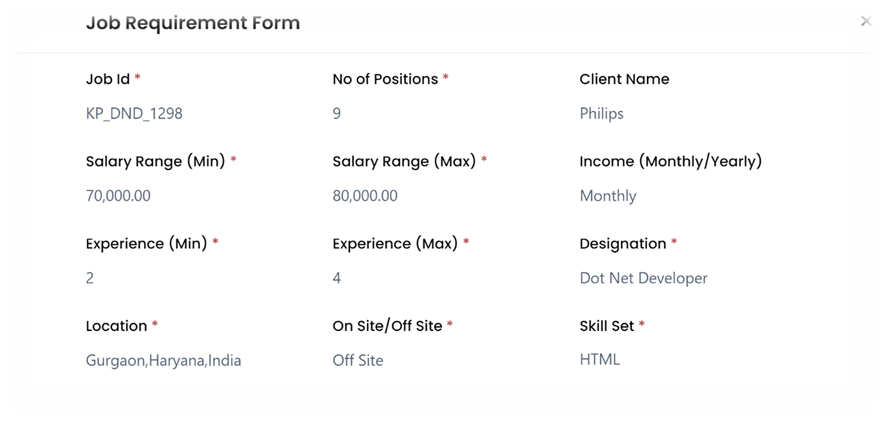
In the above-given screenshot, you can see the rows in the first columns, such as Job-id, Salary Range(Min), Experience, Location
If we want to add those columns to the mediocre table forms, it is impossible to add them directly.
So we can do that with the help of quick views forms by creating quick view forms in the Business Requirement Table of the columns which we want in the mediocre table.
And we can add that quick view form in the mediocre table, which consists of the columns which we wanted from the business requirement table.
Note: There must be a relationship between the two tables. In our case, we have created the relationship between the Business requirement table and the mediocre table, as you can see in the screenshot below:-

Now you create Quick View Forms in the Business requirement table. So you can get the columns of the business requirement table to the mediocre table.
You can see the process of creating a quick view form in the given screenshots:-
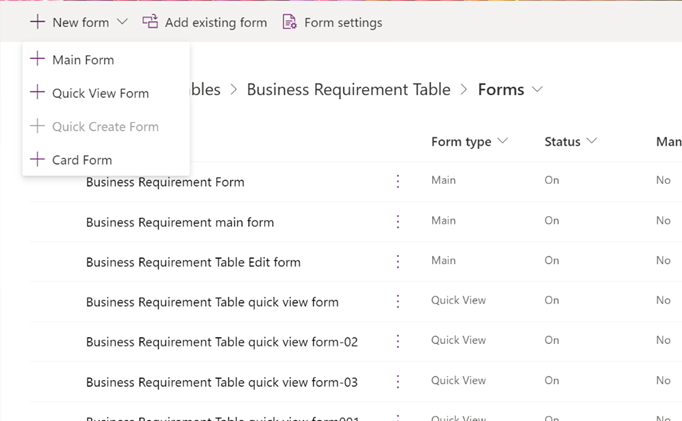
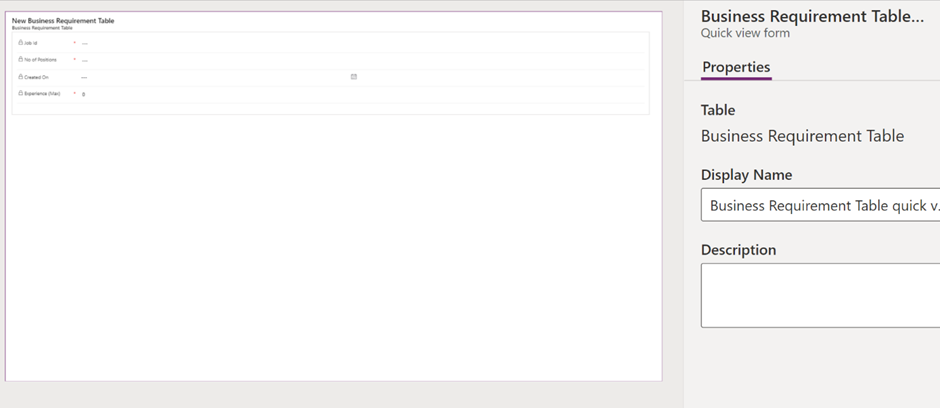
Note: - In the table, you need to create the main form and add the Quick view form. As you can see in the below screenshot:-
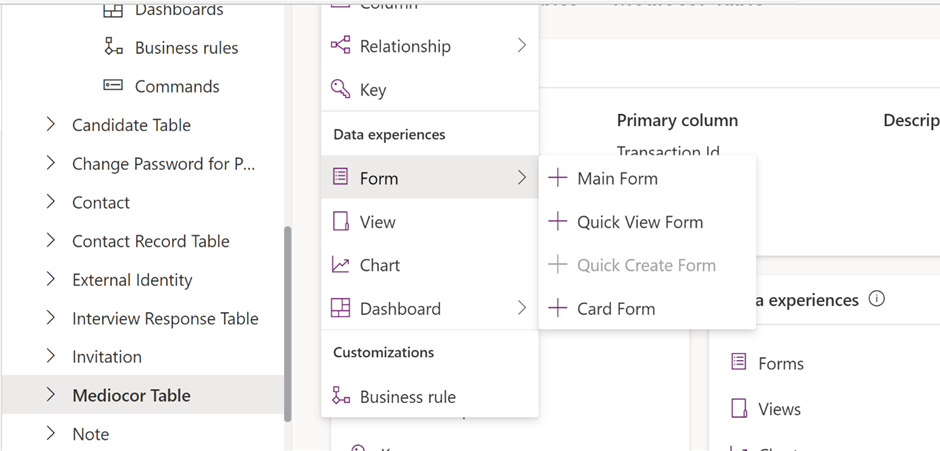
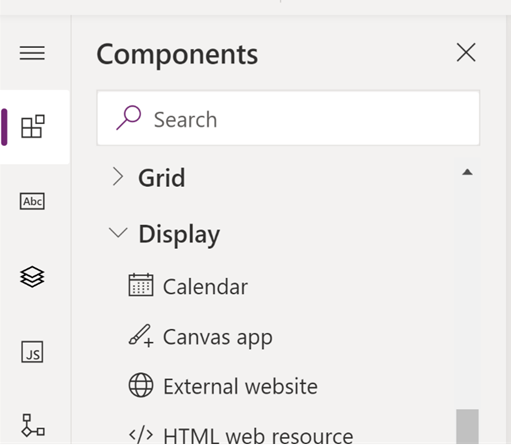
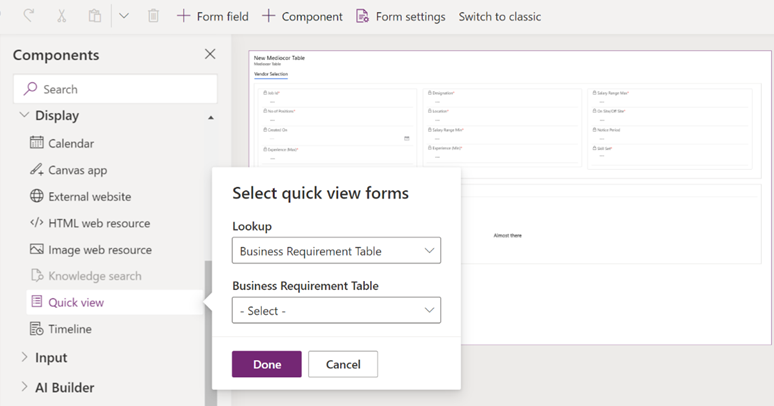
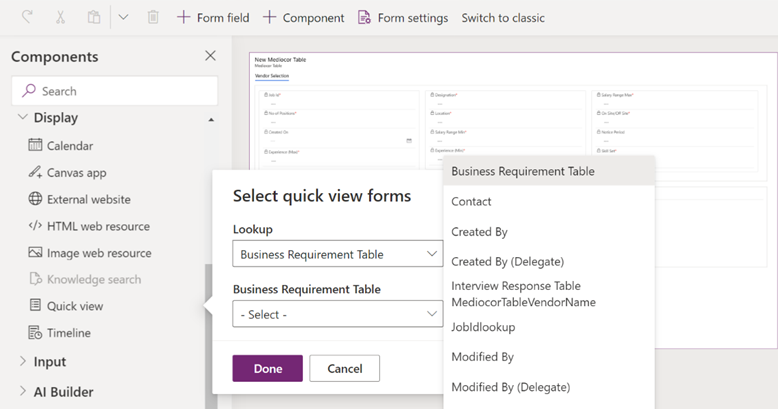
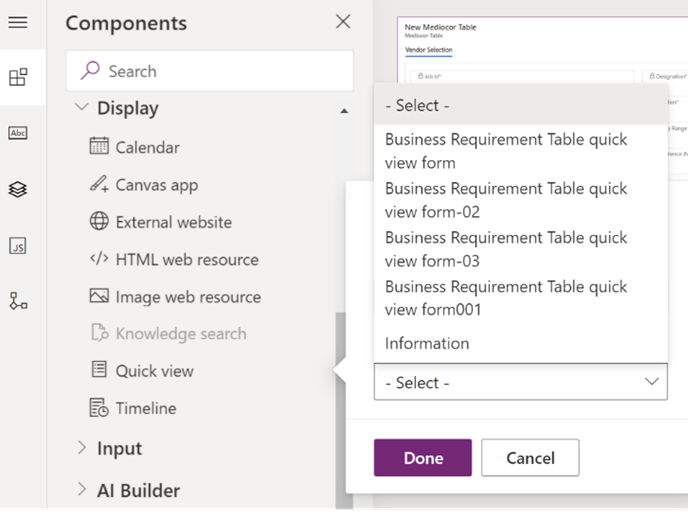
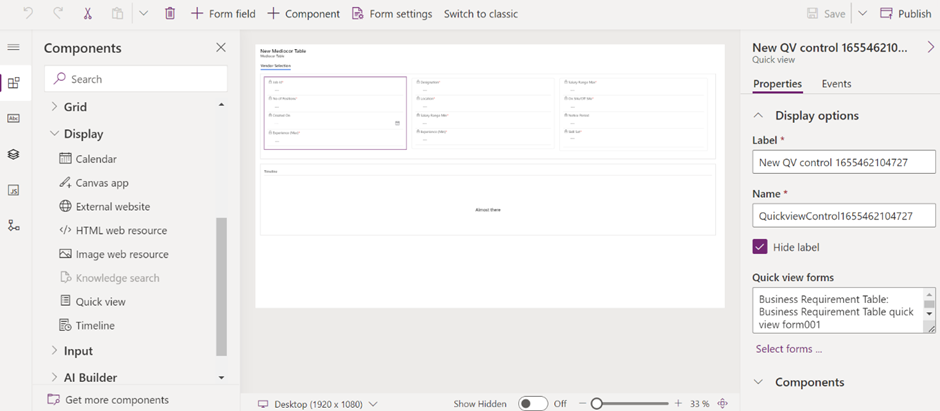
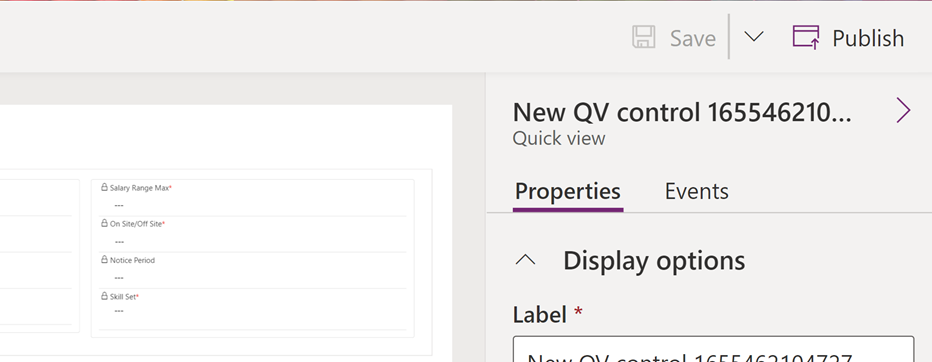
You can only add the same tables from on the list of that table, not another table form, but you can add related table columns with the help of the Quick view form.
Discover the most interesting topic