Stay updated on the newest technologies, recent developments, and latest trends in Analytics and BI

Now you can enjoy the quick and hassle-free configuration of your workspaces with Kockpit’s pre-configured images. PostgreSQL 15 is a virtual machine image (VMI) created for Ubuntu (OS) that allows you to set up your machines within minutes.
In this VM image, we have packed Postgres and admirer in a container. Adminer is a full-featured database management tool that supports managing databases such as PostgreSQL, SQLite, MS SQL, Oracle, Simple DB, Elastic Search, MongoDB, and Firebird. Using Adminer, you can add, delete or modify databases, collections, and documents. The latest version of Postgres DB is also in a container.
Using the PostgreSQL 15 container Image, you can create a VM with Pre-defined Postgres where all the configurations are already implemented. Users just need to use the command “docker ps” to list down the running containers.
The distribution of Postgres is based on Linux and is provided by Kockpit Analytics Pvt. Ltd. Postgres Container is designed for Production Environments on Azure.
Note : PgAdmin 6 and above required. Below, version 6 would not work.
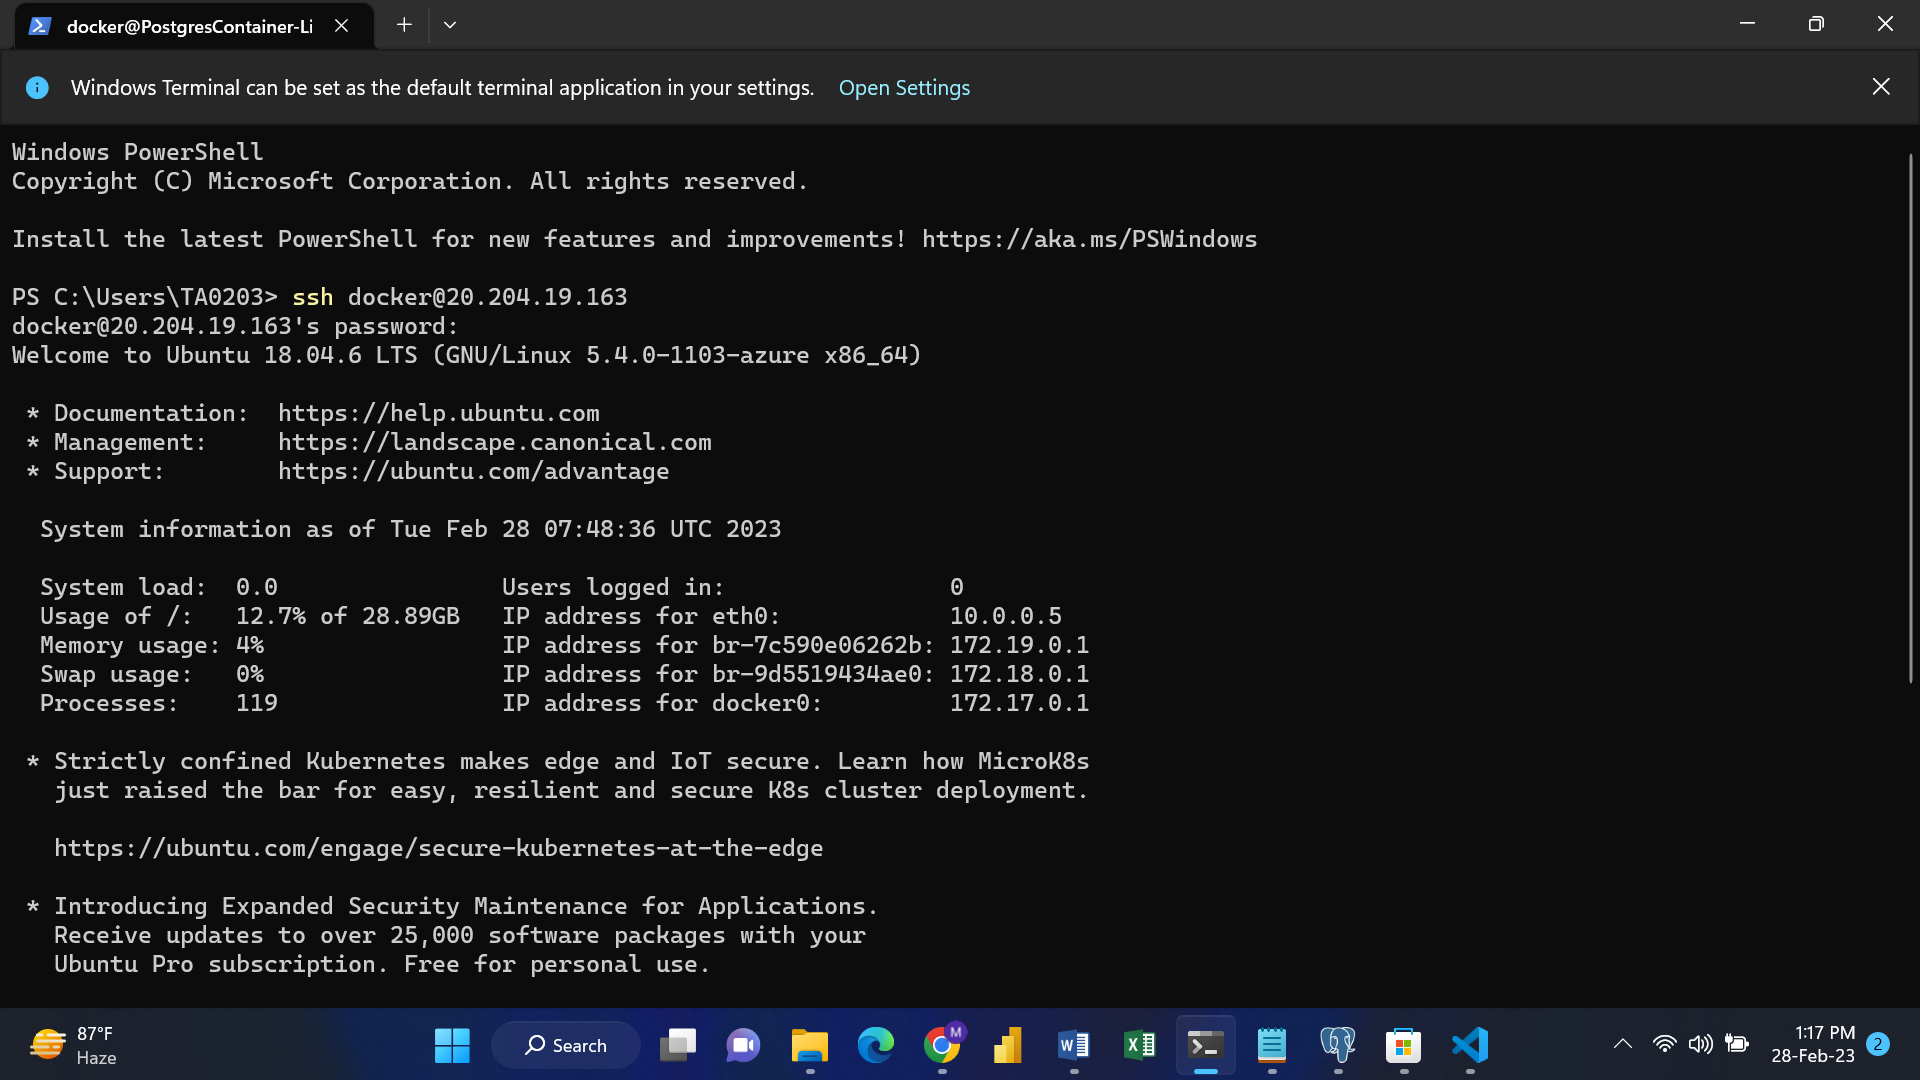
Log in to your Azure VM using SSH. Type ssh username@IP Address and then enter the password.
Example: ssh docker@29.204.19.163
Enter the password then your VM will be logged In.
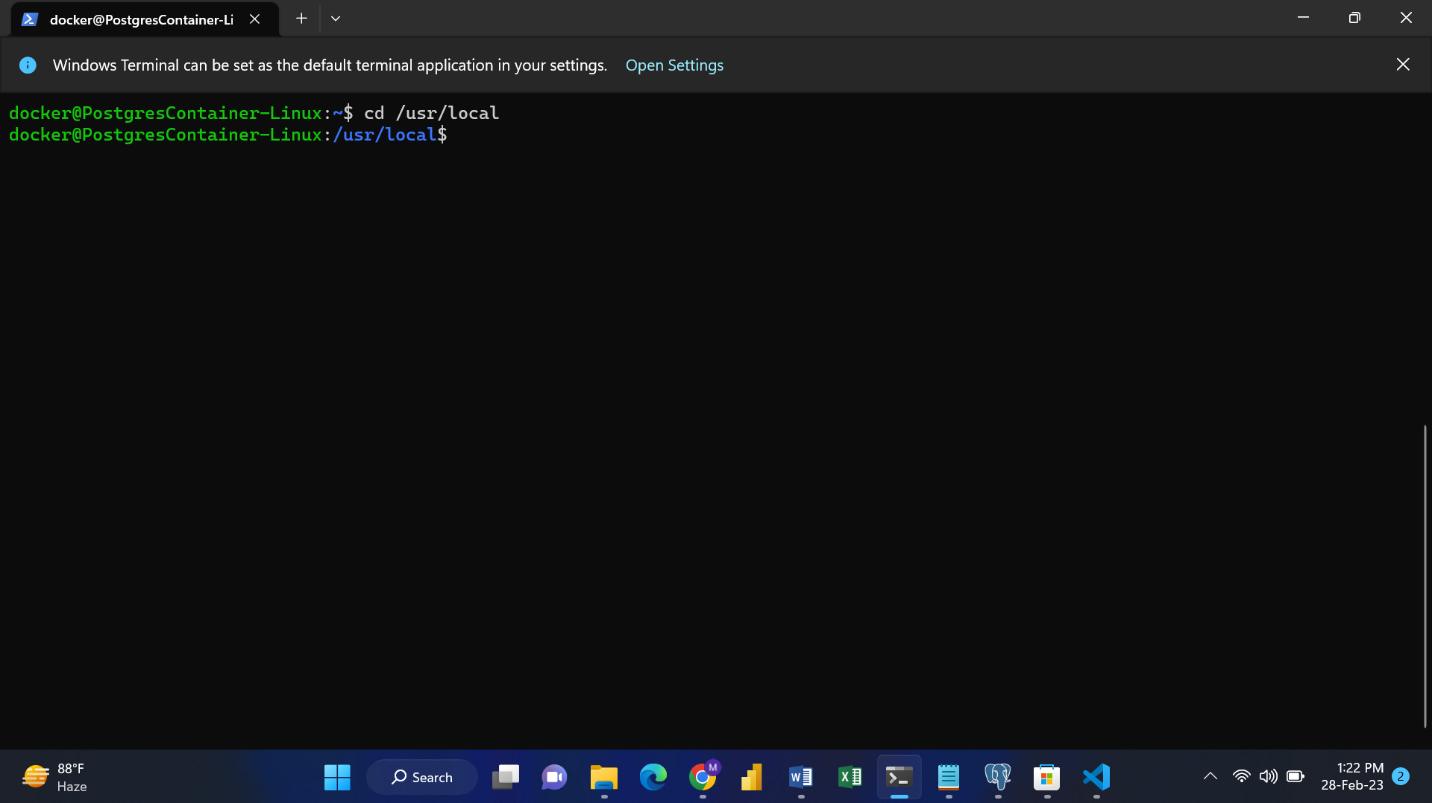
After login into your VM, Change your directory to use local.
Command: cd /usr/local
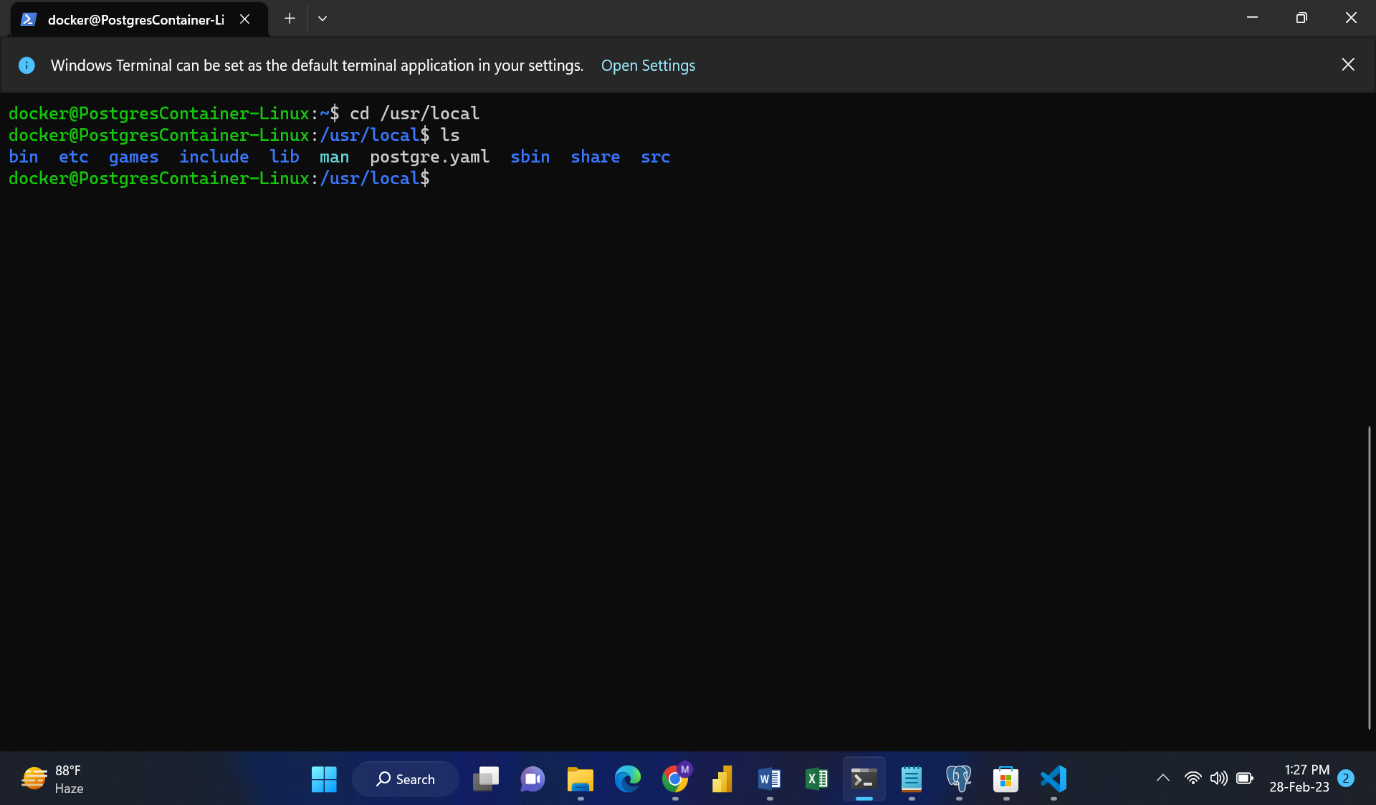
Now, type the “ls” command to get a list of files.
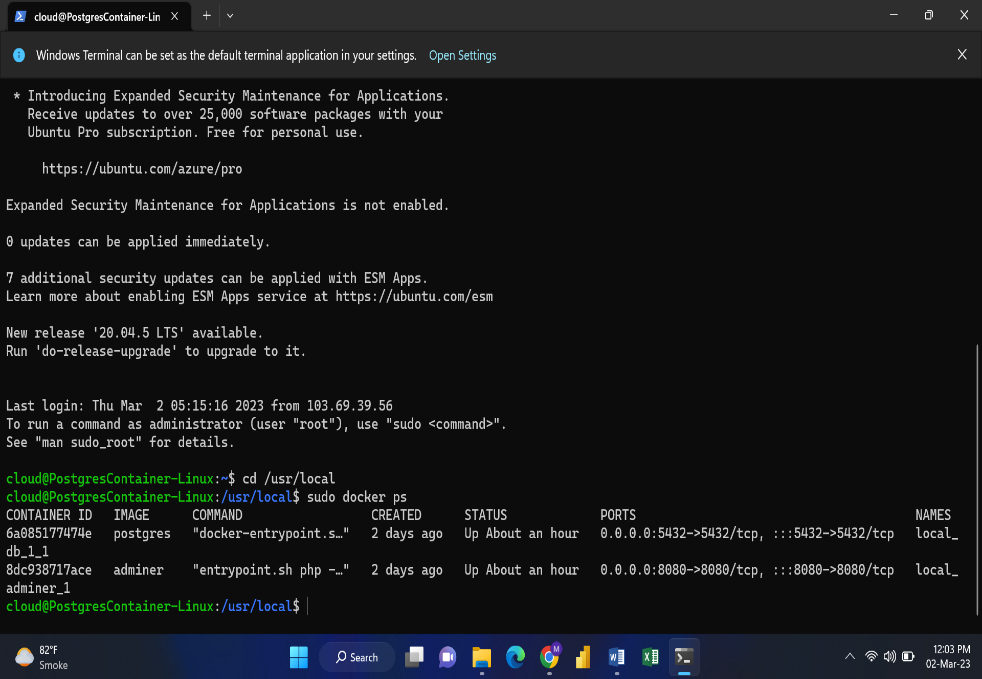
To check your active containers, type the ”sudo docker ps”.
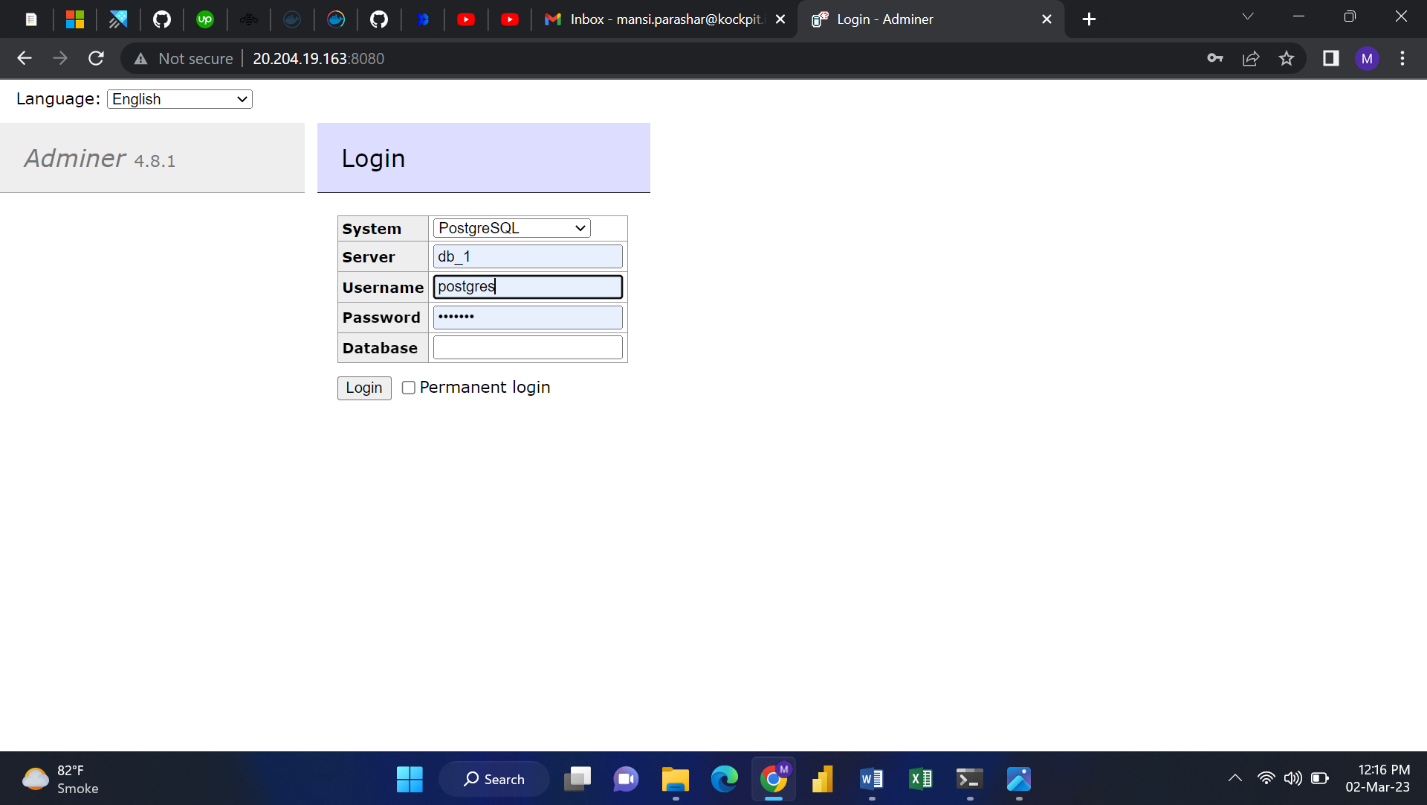
Go to the browser, and enter the IP Address and port number.
Example: 20.204.19.163:8080
Enter the required details like System, Server, Username, and Password. Here,
System: Postgresql
Server: db_1
Username: postgres
Password: example
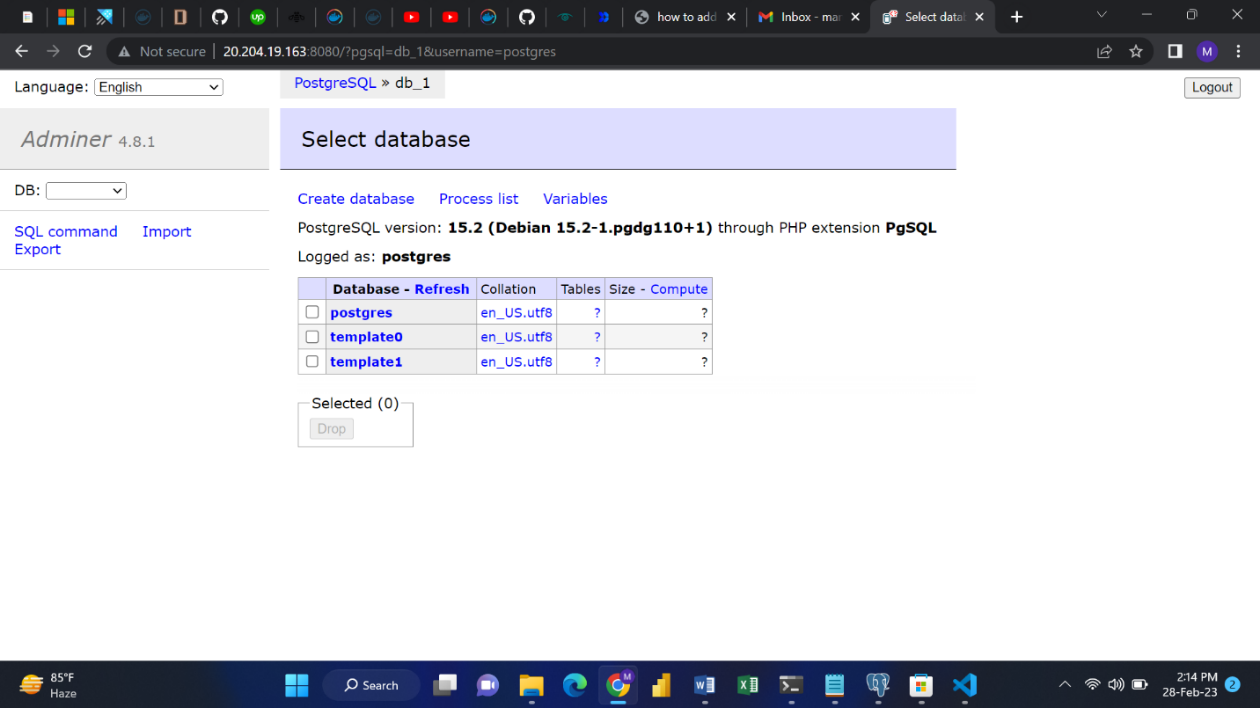
After Login, you will be presented with a screen as shown below:
or
If you want to use pgadmin to connect to PostgreSQL container, follow the below steps.
NOTE: Here is the link to download PgAdmin.
https://www.postgresql.org/ftp/pgadmin/pgadmin4/v6.20/windows/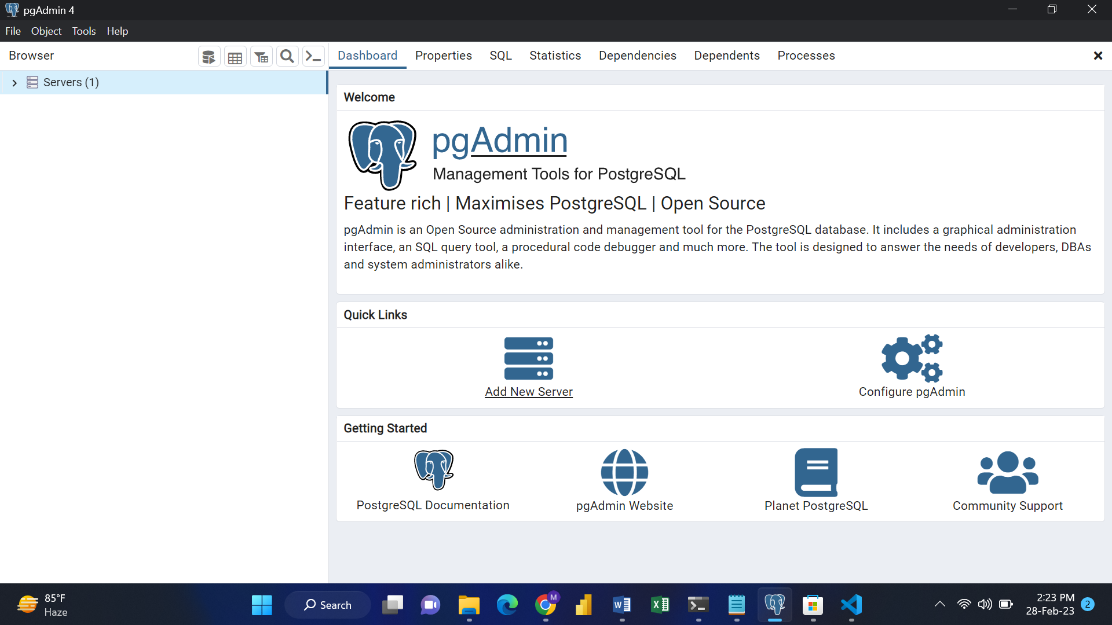
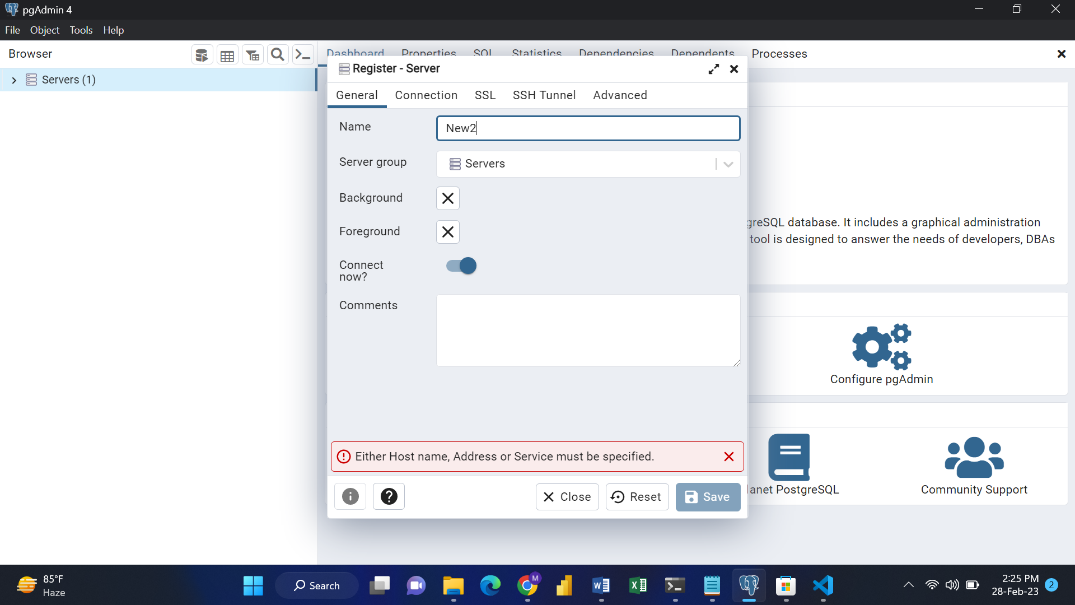
Enter the Name of your Server.
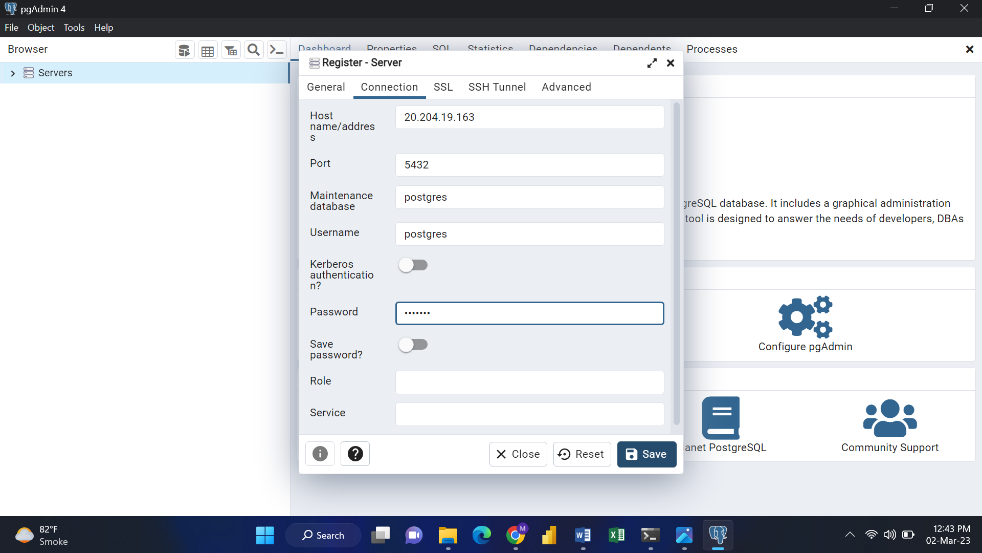
Click on Connection, and Enter the required details like Host Name or Address, Port, Maintenance database, Username, and Password.
Example:
Host Name or Address: 20.204.19.163
Port: 5432
Maintenance database: Postgres
Username: postgres
Password: example
NOTE:
Port: 5432 is the default port for PostgreSQL.
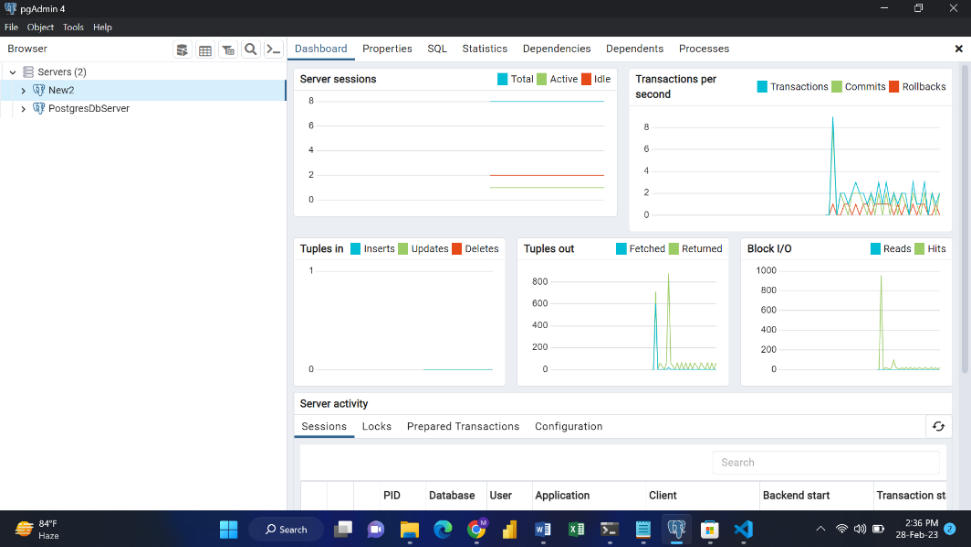
Click on Save. You are now connected to PostgreSQL Container via pgadmin.
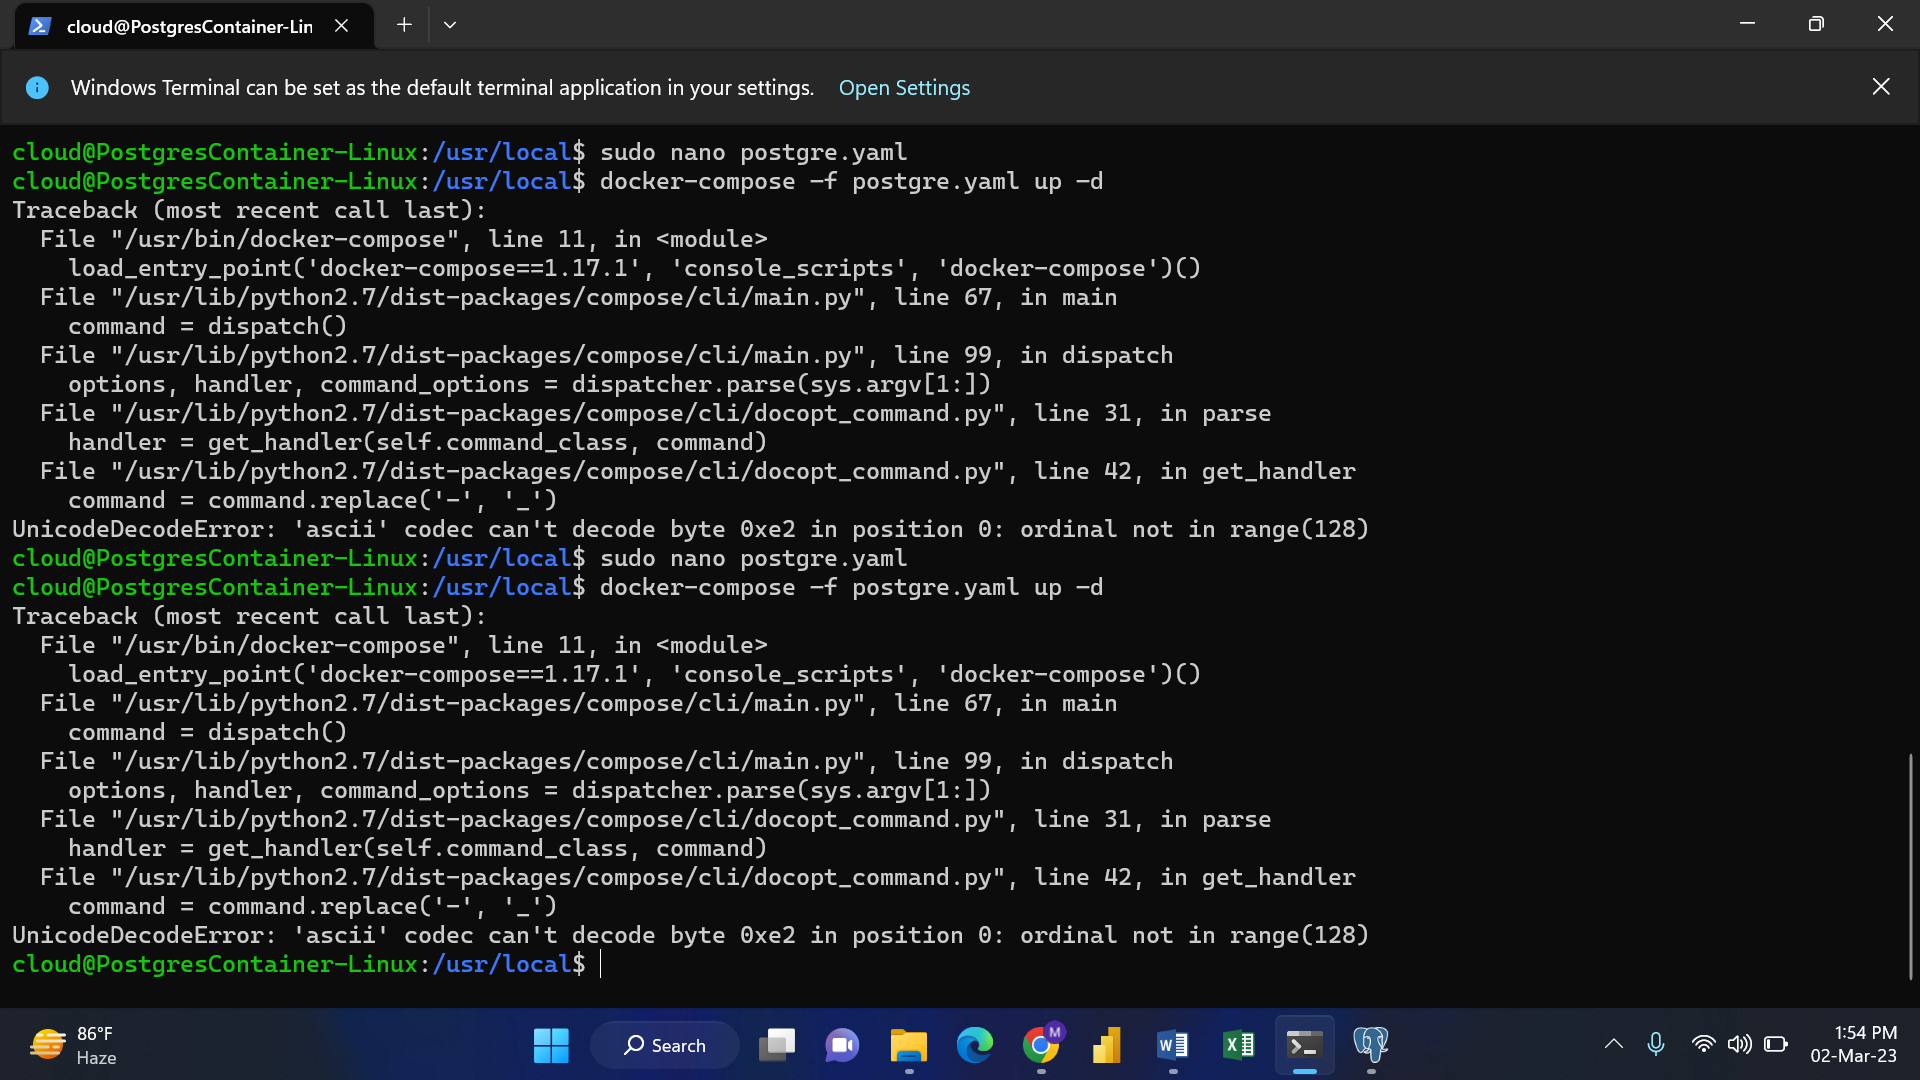
To make changes in your YAML file, type “sudo nano postgre.yaml” command. Here, we have integrated Postgres and admirer (UI for PostgreSQL in a container) in a container. (NOTE: postgre.yaml is the name of the YAML file.)
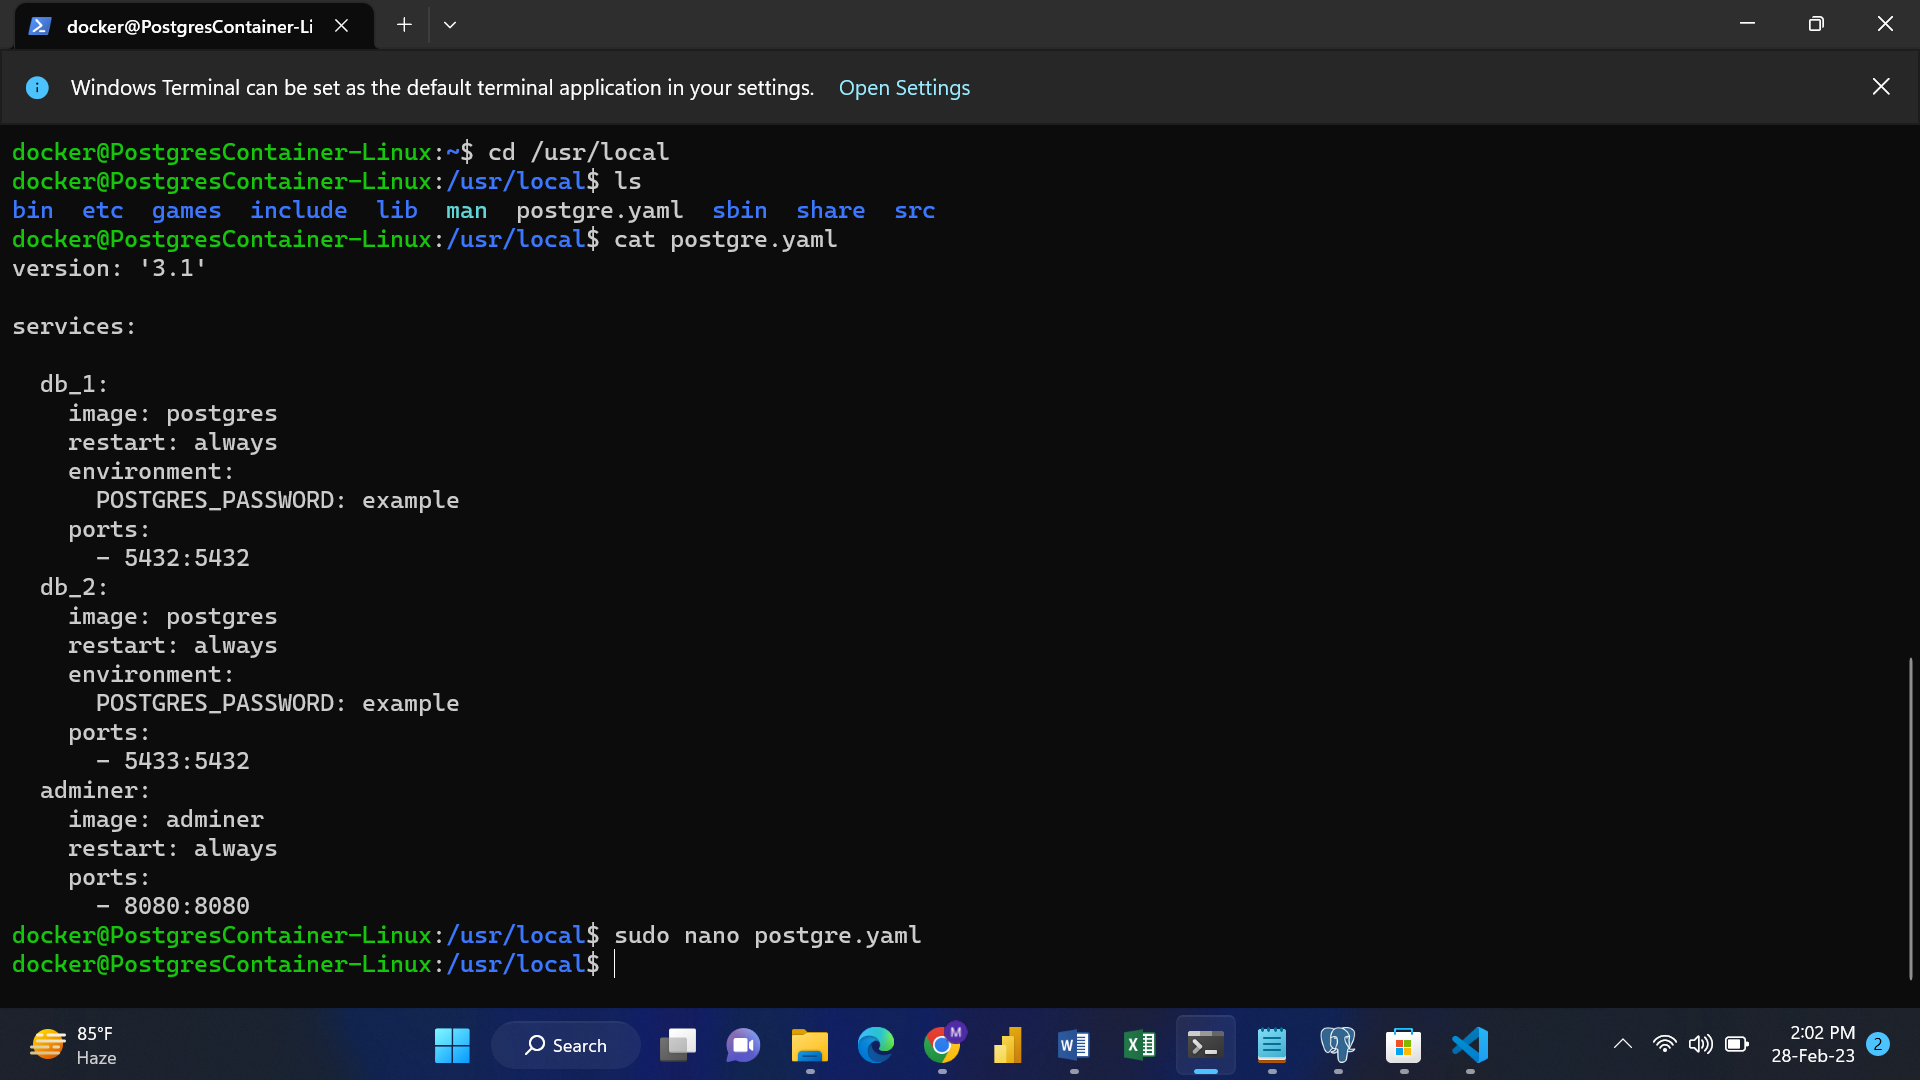
After running the above-mentioned command, postgre.yaml file will open for editing.
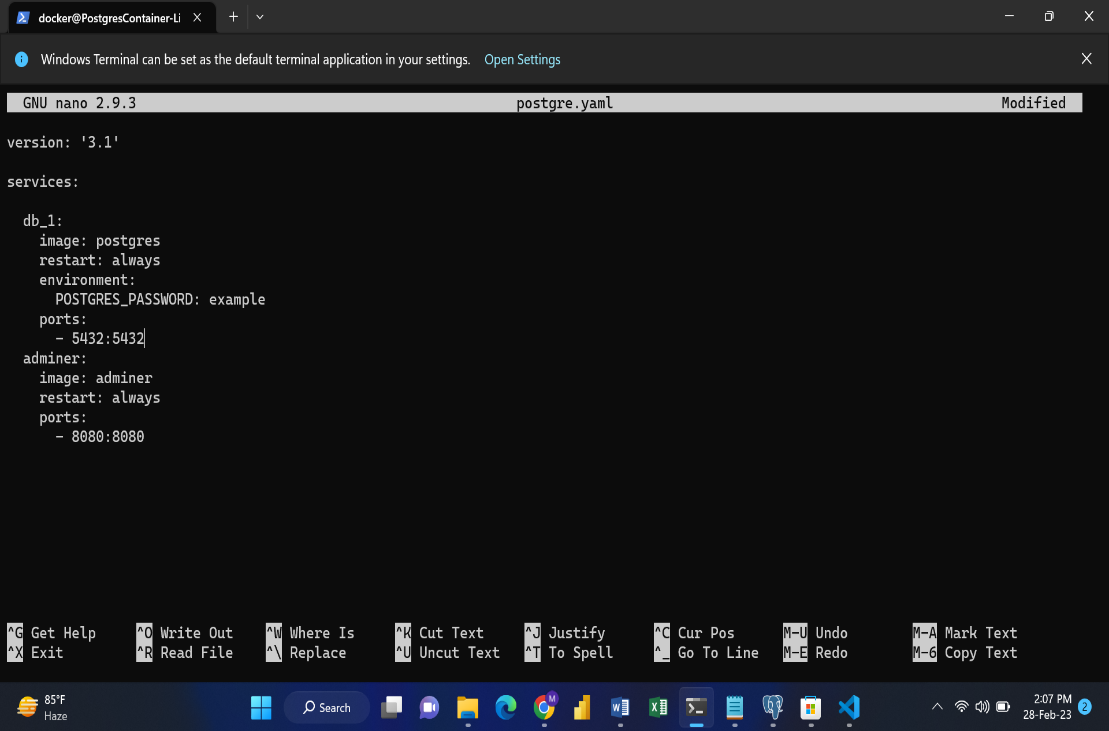
Version: You can use all sorts of scalar types as values: numbers, booleans, and strings (quoted or not)
Image: You can use any image from the library of docker hub. And you can mention a particular version as well. For example: Image: postgres: latest
Restart: If it is at ‘always’, your container will start every time you log into your server.
Environment: We define a password under this key.
Ports: On the left side is the port address on which we want our container image to run (kind of masking the real port), and on the right side, after the separator, is the main port address where it will be running.
Add a new database to your Yaml. Specify the required features like Image, Restart, Environment, and Ports. Here, we are adding one more DB:
db_3:
Image - postgres
Restart - always
Environment - POSTGRES_PASSWORD : example
Port - 5433:5432
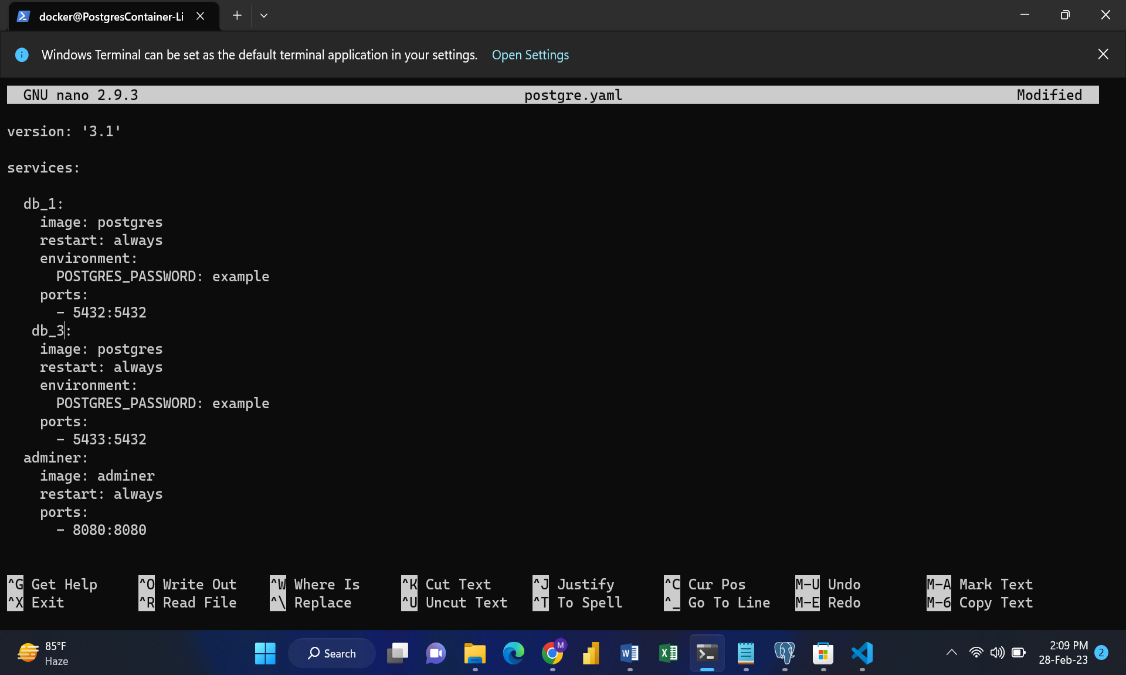
You can remove your database from YAML as shown below:
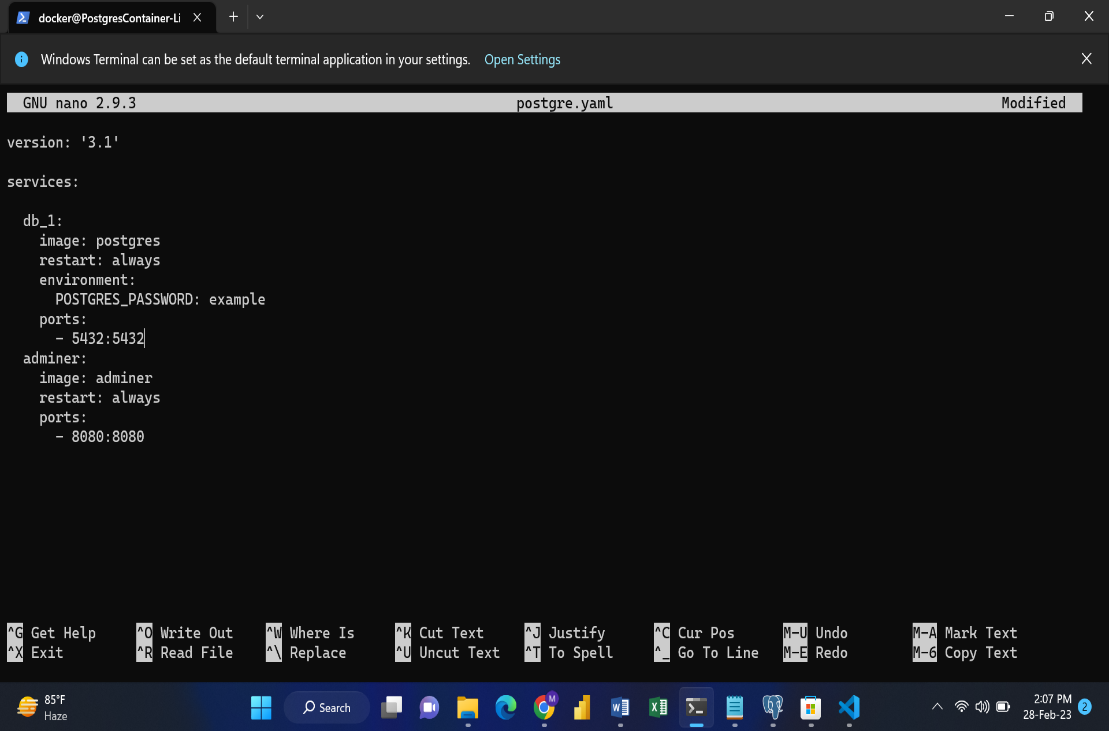
After editing, press Ctrl+X then Y, and press Enter. All the changes made in the yaml file will be saved.
To get the yaml file up and running. Type the “sudo docker-compose –f postgre.yaml up –d” command.
(The -d operator runs the detached container as a background process. The up command will pull the Postgres image from the docker registry.)
