Stay updated on the newest technologies, recent developments, and latest trends in Analytics and BI

In this VM Image we have packed Apache Kafka which is an open-source distributed event streaming platform used by thousands of companies for high-performance data pipelines, streaming analytics, data integration, and mission-critical applications. Added Kafka server and Zookeeper so that you can customize it and use it according to your requirements. Also added an example python script so you can check out the working of Apache Kafka.
No Setup Required: The setup of Kafka is pre-configured by us which takes a lot of your time.
Less Complexity: The Kafka setup can be complex and sometimes you can face errors while installing Kafka in Linux which can give you a headache sometimes.
Example Provided: There is an example python script provided in the documentation which can be useful to you while checking connection with Kafka. Otherwise, you have to search for it online which will be a time taking process.
High Throughput: Deliver messages at network limited throughput using machine with latencies as low as 2ms.
Connect to Almost Anything: Kafka’s out-of-the-box Connect interface integrates with hundreds of event sources and event sinks including Postgres, JMS, Elasticsearch, AWS S3, and more.
Log in to your Azure VM using SSH, go to /usr/local/ directory
After logging into your VM, type the “ls” command to get a list of files.
Get Inside the Kafka Directory

Go Inside the “cd /usr/local/kafka_2.12-2.5.0/config” Directory and edit the server properties.

Add your Server IP to the advertised.listeners

Save the file using ctrl + S and exit the file using ctrl + X.
Now, get back to your Kafka directory.

Use the below command to start the zookeeper
bin/zookeeper-server-start.sh config/zookeeper.properties

Your terminal will get locked after running Zookeeper. Keep the current terminal running and open a new terminal and get back inside the Kafka directory.
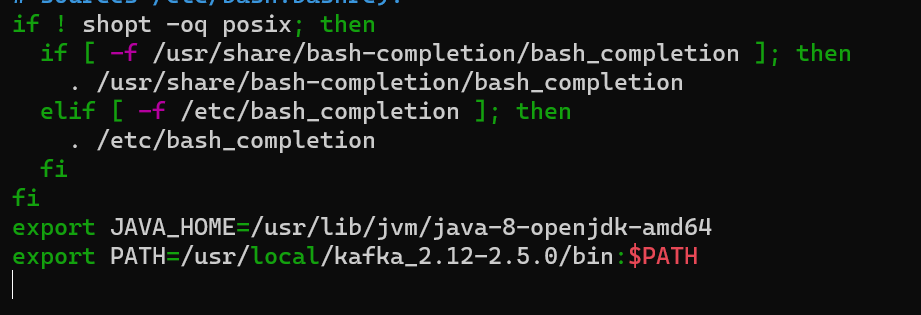
Edit your bashrc using the command “sudo nano ~/.bashrc”
Add these below-mentioned lines to your .bashrc
export JAVA_HOME=/usr/lib/jvm/java-8-openjdk-amd64
export PATH=/usr/local/kafka_2.12-2.5.0/bin:$PATH

Save the file using ctrl + S and exit the file using ctrl + X.
Save the .bashrc using the command “source ~/.bashrc”

After sourcing the file bashrc, get back inside Kafka Directory.

Use the below command to start the Kafka Server.
kafka-server-start.sh config/server.properties

To Send Messages to your Kafka server, use the below script.

